

In Part 1, we talked about why paper piles build up. In Part 2, we covered what a paper management system actually is — an action system and a reference system, working together.
Now let's get practical. Here's exactly how to build one.
Step 1: Reduce What's Coming In
Before you tackle the piles already in your home, cut off some of what's arriving in the first place:
Pay bills online instead of by mail when possible.
Receive coupons by email instead of paper inserts — a free tool like Unrollme.com can help clean up email subscriptions too.
Stop catalogs from arriving using DMAChoice.org.
Reduce junk mail using PaperKarma.com.
Opt out of pre-approved credit card offers at OptOutPrescreen.com.
Every piece of paper you stop from arriving is one less piece you'll ever have to deal with.
Step 2: Tackle Your Piles With the RAFT Method
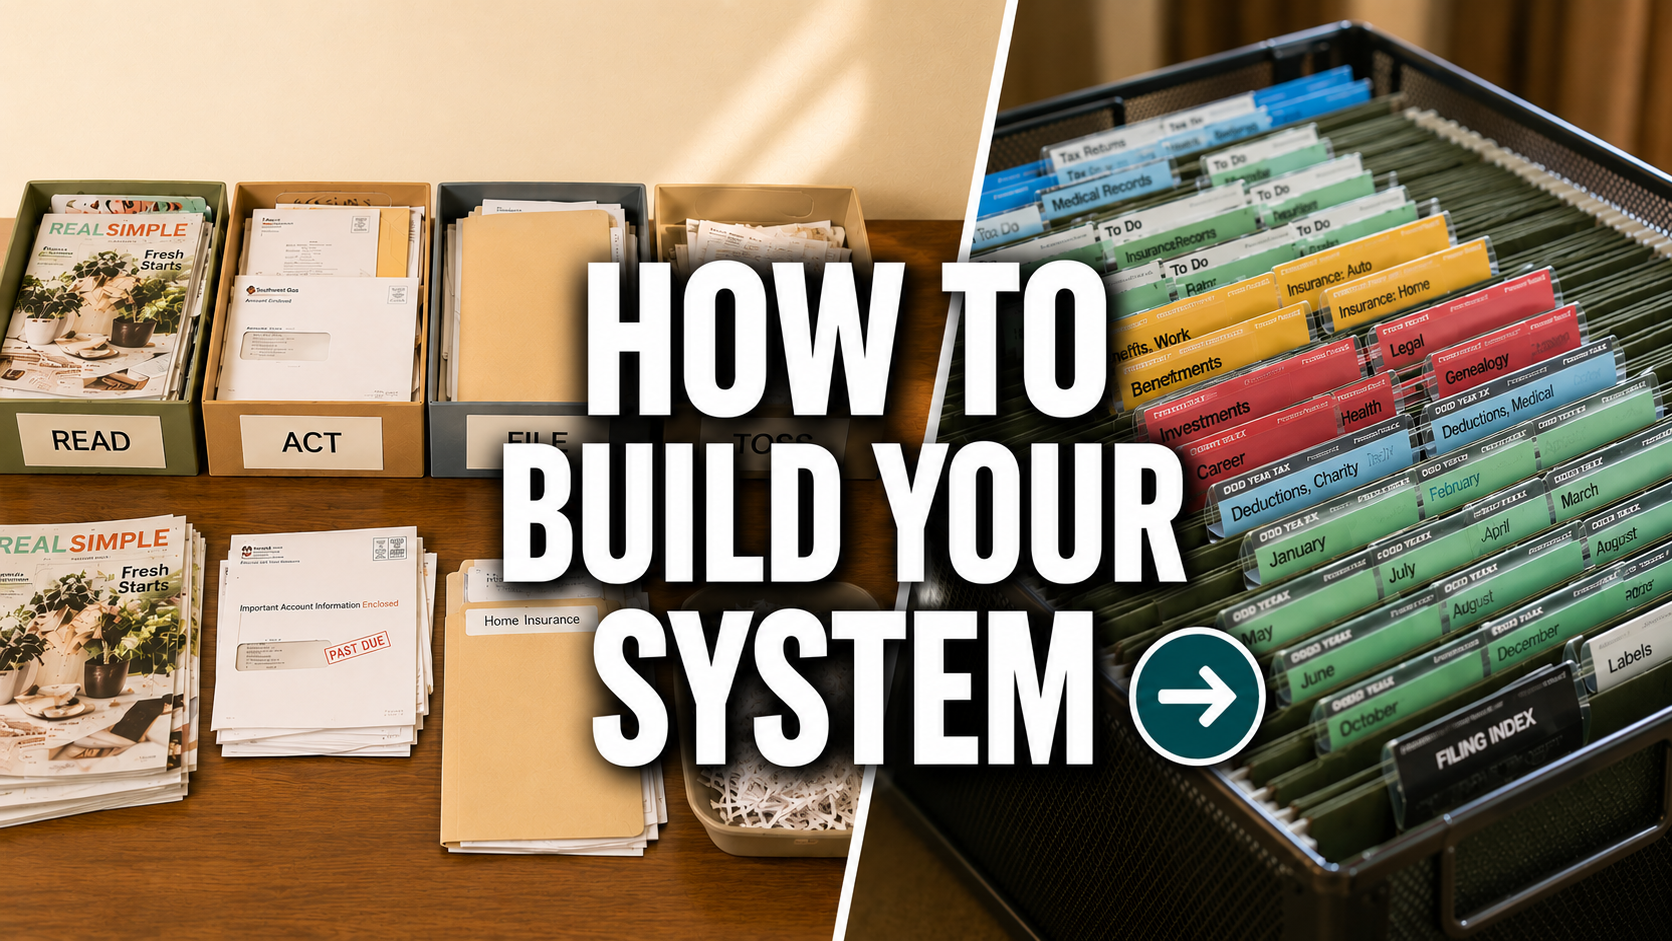
Now it's time to gather all your paper — yes, all of it — and sort it using a simple method called RAFT, a sorting approach popularized by professional organizer Marla Dee of Clear & Simple.
R — Read. Papers you're keeping simply to read for enjoyment: magazines, newsletters, catalogs.
A — Act. Papers that require you to do something: pay a bill, make a call, RSVP to an invitation, sign a school form.
F — File. Papers you need to keep for future reference.
T — Toss. Everything else — shred, recycle, or trash.
This simple sort turns an overwhelming pile into four manageable categories.
Step 3: Set Up Your Read Pile
Your Read pile is the easiest — just give it a home. A basket on your nightstand, coffee table, or in the bathroom works perfectly. The goal is simply having a designated spot, so these papers stop mixing in with everything else.
Step 4: Create Your Action System
Your Act pile includes bills to pay, invitations to add to your calendar, calls to make, coupons to use, and school papers to sign.
To manage this, set up a simple Action System — a cute basket or hanging file holder works well, sorted either by the type of action needed or in a weekly "tickler" file by date. Keep it portable so you can sit anywhere in the house to work through it, then return it to its designated spot when you're done.
The benefit: one central place for anything needing your attention, so nothing gets buried or forgotten again.
Step 5: Create Your Filing System
For your File pile, ask yourself three questions before anything goes into a folder:
Do I really need to keep this?
How long should I keep this?
Where should I keep this?
Once you've narrowed it down to what truly needs to be kept, it's time to set up your reference system. As we mentioned in Part 2, our go-to method is the FreedomFiler® system — with color-coded categories including:
Tax
Permanent (people, property, pets)
Remove & Replace (updated regularly)
Monthly (non-tax bills and statements)
Resource (hobbies and interests)
Tax Archive (prior years' returns)
The biggest benefit? It's streamlined and self-purging — meaning it does a lot of the maintenance work for you going forward.
You Don't Have to Do This Alone
This process works — but doing it well, and doing it in a way that's actually customized to how you live, is where most people get stuck.
"I was overwhelmed with paperwork and was nervous to tackle it. After 2 sessions working together, I am seeing huge improvements. I have a system now, and I know how to work it. I am so glad I hired Karen. I was able to set up all my holiday decorations since my surfaces were cleared and I wasn't overwhelmed with stuff everywhere."
— Liz, Mt. Helix
If you'd rather have guidance through this process instead of figuring it out solo, that's exactly what we're here for.
P.S. Schedule before August 30, 2026 and mention this blog post to receive a complimentary fireproof document safe to protect your most important papers.
AUTHOR
Karen Brothers
PUBLISH DATE
Friday July 31, 2026